Select Audio in the right toolbar.
Last updated on
- Captivate User Guide
- Introduction to Captivate
- Add a slide
- Add text blocks
- Add media blocks
- Interactive components
- Widgets
- Create quizzes
- Add audio to a project
- Interactions
- Animations
- Accessibility
- Customize the timeline
- Customize TOC and Playbar
- Edit project properties
- Preview a project
- Share a project for review
- Publish a project
- Create a simulation project
The all-new Adobe Captivate has native audio editing capabilities that allow you to perform audio editing tasks using the built-in features without relying on third-party audio editing tools.
Use audio in your Adobe Captivate projects to play the narration, voice-over, or introductory music.
You can use audio in Adobe Captivate projects in various ways. For example, you can do the following, all in the same project:
- Add introductory audio at the start of your presentation or record narration in your project.
- Add a background track that plays during the project.
- Add sound to an individual slide or an object.
You can also use the Asset Panel or a location on your computer to add an audio file to a project.
Add audio to a slide
You can add audio on a slide in one of the following ways:
- Add audio from Assets.
- Add an audio file from your computer.
- Record a narration.
- Generate text to speech
-
-
Click the Import Audio dropdown.
Add audio Add audio

Add audio from Assets
Adobe Captivate lets you add an audio clip from Assets and use the clip as background audio.
-
Select Assets in the Import Audio dropdown.
-
Select a file in Assets.
-
Click Insert Audio.
If the duration of the audio exceeds the slide duration, you view a pop-up to extend the duration of the slide to which you're adding the audio.
Extend audio to match the duration of the slide Extend audio to match the duration of the slide -
Click Extend time.
-
Hover on the audio file and click the pencil icon to edit the audio.
-
You can change these audio settings:
- Fade in: Enter the time from where you want the audio to fade in.
- Fade out: Enter the time from where you want the audio to fade out.
- Loop audio: Select the checkbox to make the audio play continuously.
- Stop background audio: Select the checkbox to stop the background audio when the project ends.
Edit audio Edit audio -
In the Closed Captions section, click Add captions to add closed captions on the slide. For more information, view Add closed captions on a slide.


Record your narration
Adobe Captivate allows you to record audio narration and system audio. You can also edit the recorded audio and add it to your slide.
Note:
For recording system audio on macOS, there is an option in Preferences to select Virtual Audio driver.
-
Select Record in the Import Audio dropdown.
-
Select the ellipsis icon near Record Audio to choose your microphone. After choosing a microphone from the dropdown, the recommendation is to calibrate the audio. Select Audio Input Calibration and speak into the microphone. If you're satisfied with the audio quality, select Done.
You'll view a Good message on the audio calibration pop-up if the input volume level is optimal.
You can also select the microphone via Preferences.
-
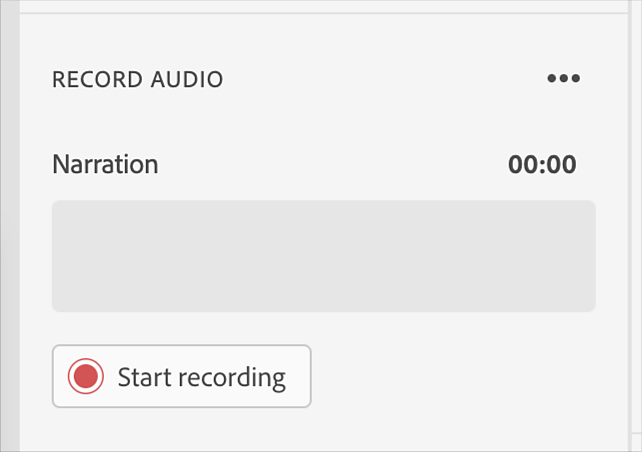
In the Record Audio section, click Start recording.
-
After recording, click Stop recording.
-
After you've recorded the narration, you can change these audio settings:
- Fade in: Enter the time from where you want the audio to fade in. Fade-in always starts from zero. If you enter 5, the audio will be faded between 0-5 seconds.
- Fade out: Enter the time from where you want the audio to fade out. Fade-out always starts from zero. If you enter 5, the audio's last five seconds will fade.
- Loop audio: Select the checkbox to make the audio play continuously. It loops the audio till the end of the slide. If the slide audio duration is less than the slide duration, then the audio loops till the end of the slide.
- Stop background audio: Select the checkbox to stop the background audio when the project ends. It stops the project audio (background audio) when the slide audio plays. It's specific to individual slides.
- Fade in: Enter the time from where you want the audio to fade in. Fade-in always starts from zero. If you enter 5, the audio will be faded between 0-5 seconds.
-
In the Closed Captions section, click Add captions to add closed captions on the slide. For more information, view Add closed captions on a slide.
Generate text to speech
Adobe Captivate enables you to convert text into audio and then import that audio into a project.
-
Select Generate Text-to-speech in the Import Audio dropdown.
-
Add the captions on the slide. For more information, view Add closed captions on a slide.
-
Select a speech agent for the caption.
Select speech agent Select speech agent If you want to add more voices, select +Add Voice. This opens the browser to download the voices zip file and install the voices. If the voices are already installed, the option +Add voices isn't displayed.
-
After adding all captions, click Generate Audio. After generating the audio, adjust the timing of the captions based on the generated audio.

In the waveform editor, select the portion of audio that you want to edit. Use the options available in the Edit Audio section to edit the audio clip.
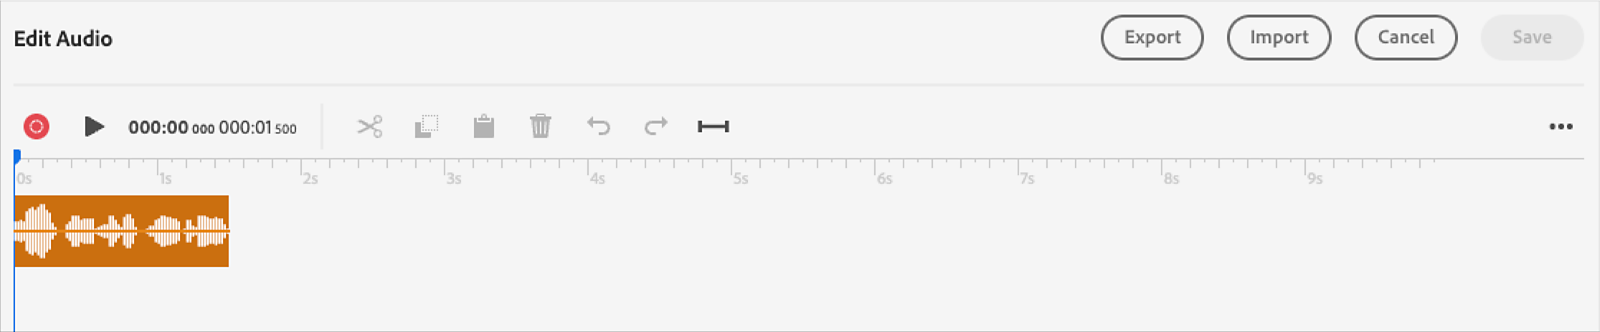
Make any necessary edits in the Edit Audio section.
You can cut, copy, and paste sections of the audio file, insert periods of silence to lengthen the audio file, adjust the volume, import different audio at the playhead position, and use more options.
- Cut selection: Cut the selected portion of the audio file.
- Copy selection: Copy the selected portion of the audio file.
- Paste selection: Paste information from the clipboard.
- Delete selection: Remove the selected portion of the audio file.
- Undo: Undo the last action.
- Redo: Redo the last action.
- Insert silence: In the Insert Silence dialog, select the portion of the audio file where you want to insert silence and select Insert Silence. Choose from:
- Playhead Position: This option is available only when you've not selected a portion of the audio file. Insert the time and position for the silence clip in the audio.
- Start of Audio: Add silence to the beginning of the audio file.
- End of Audio: Add silence to the end of the audio file.
- Playhead Position: This option is available only when you've not selected a portion of the audio file. Insert the time and position for the silence clip in the audio.
If you select a portion of the audio and select Insert silence, the selected portion of the audio becomes silent. To choose the playhead position, Start of Audio, and End of Audio, select Add silence without selecting the portion of the audio.
You can also record or import audio to insert into an existing audio clip on the panel.
Volume settings
Select the ellipsis icon in the Edit Audio panel and click Volume Settings. The Volume Settings dialog contains the following options:
Volume slider: You can manually change volume decibels (dB) using the slider.
Audio Recording options
- None
- Normalize: Select this option to have Adobe Captivate adjust the sound volume automatically. Normalizing audio helps keep the sound level consistent between slides and selects the best volume in the audio. Audio normalization applies a constant gain to an audio recording to bring the average or peak amplitude to a target level (the norm).
- Dynamic: Select this option to amplify quiet sections of the audio to help compensate for variations in audio volume. It reduces the loudness of the audio. After you select this option, you can further set the following:
- Ratio: Specifies the maximum amplification to use. The default setting of 2.0 sets the quietest sections of the audio to amplify by a factor of two. A higher setting can improve projects with large differences between quiet and loud sections, but can also amplify background noise.
- Threshold: Controls the amplification of background noise. Anything quieter than the noise threshold isn't amplified. If background noise is amplified too much, setting a higher noise threshold may help solve the problem.
- Ratio: Specifies the maximum amplification to use. The default setting of 2.0 sets the quietest sections of the audio to amplify by a factor of two. A higher setting can improve projects with large differences between quiet and loud sections, but can also amplify background noise.
Delete an audio
Hover on the audio file, select the vertical ellipsis icon, and click Delete.
-
Click Add captions in the Closed Captions section.
-
Enter the caption in the placeholder.
-
Drag the playhead on the timeline to the point where you want to add the next caption.
-
Click the + icon to add another caption.
-
In the Position section of the Visual Properties panel, select a caption's position. You can place the caption at the top or bottom of the video.
-
Move the Opacity slider in the Visual Properties panel to increase or decrease the transparency of the caption.
-
Change the caption's background color from the Solid color picker.
-
Change the appearance of a caption.
Also, change the color of the caption, add an outline to the caption, or add a shadow.
View Work with text in Adobe Captivate to know more about changing the appearance of text.
-
Apply the caption text properties to the slide or all slides in the project.
- Apply to this slide: Select this option to apply the changes to the text properties to the captions on the selected slide.
- Apply to all the slides: If there are other slides with captions, select this option to apply the changes to the text properties on all other slides.
Import closed captions
Adobe Captivate allows importing, exporting, and replacing closed captions or subtitles of audio in your Captivate project. Captivate supports .srt and .vtt file formats for captions.
You can format the font style, size, and color or make it bold, italic, underline, and change the position of the caption. Additionally, vtt files support CSS (Cascading Style Sheets) for styling. For srt files, you can format the same, except for the subtitle position.
Note:
If an SRT or VTT file contains a font type that is not compatible with Captivate, the caption text will automatically switch to Arial as the default font.
The import function for closed captions becomes accessible only when there is existing audio on the slide.
-
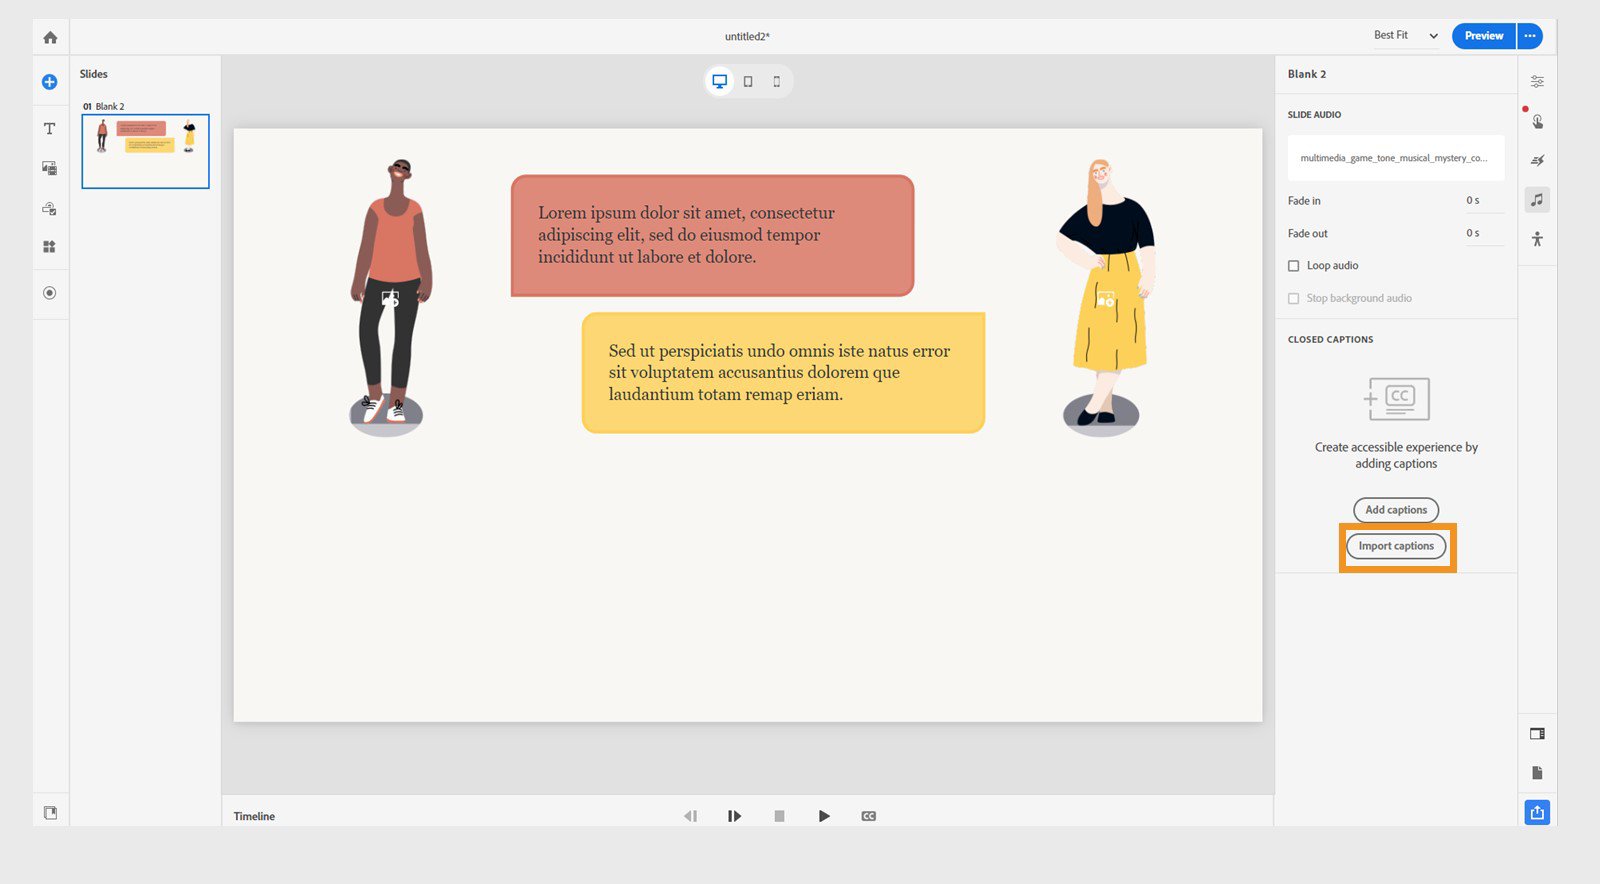
Select Audio in the right toolbar.
-
Select Import captions.
Import closed captions to slide audio Import closed captions to slide audio Note:Ensure that the duration of the captions does not exceed the duration of the audio for the slide.
-
Select the captions file (srt or vtt) from the system.
-
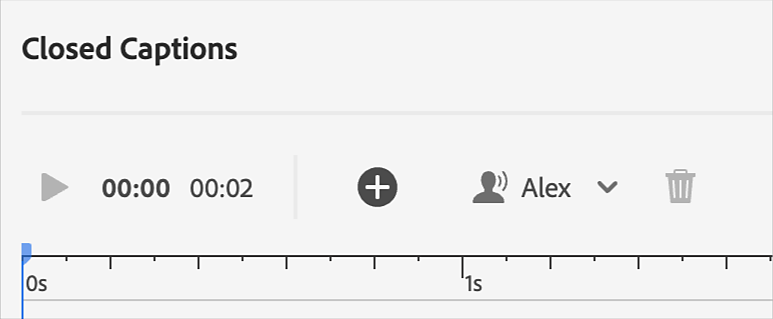
View the captions in the Closed Captions panel.
Imported captions for a slide audio Imported captions for a slide audio

Note:
When both the audio and its corresponding captions share identical file names and are located in the same directory, the captions are seamlessly imported upon adding the audio.
In cases where both SRT and VTT files coexist in the same directory, priority is given to the VTT file, which will be automatically selected as the default.
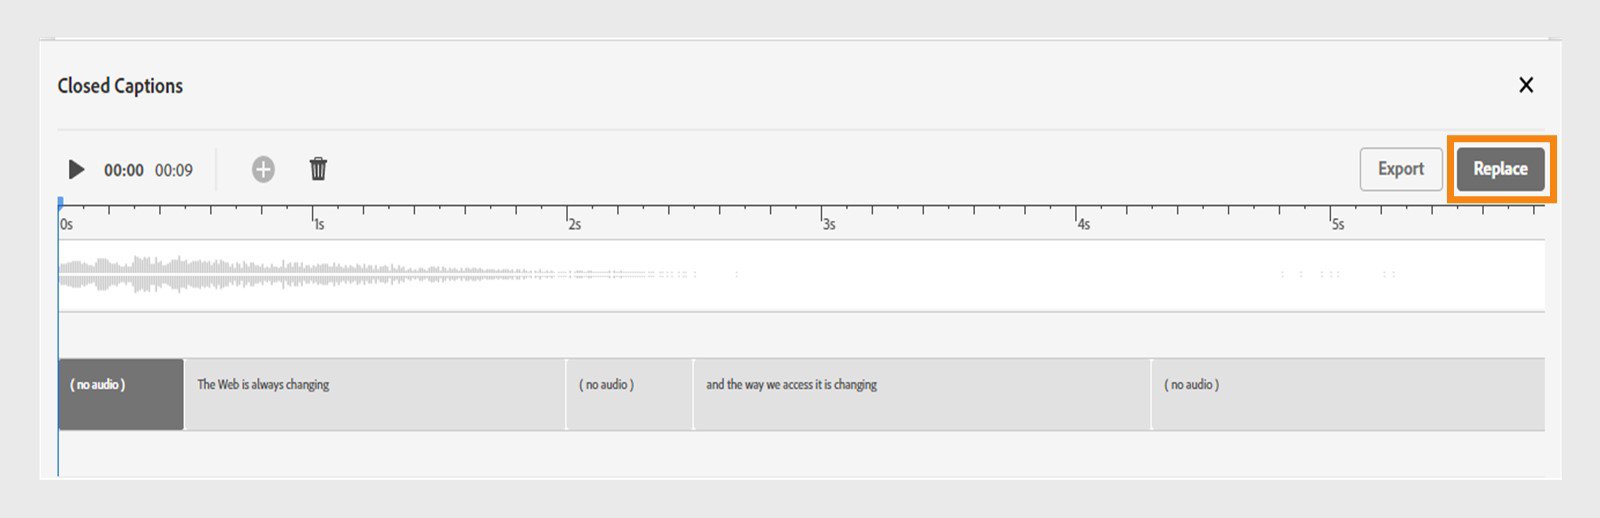
Replace existing captions
You have the option to replace current captions if you have imported an incorrect file, or wish to adjust timing and font styles in the existing file. Make the changes in the caption file and utilize the replace feature to upload a revised version or a different file entirely.
-
Select Replace from the closed captions panel.
Replace captions for a slide audio Replace captions for a slide audio -
Choose another caption (srt or vtt) file from the system.
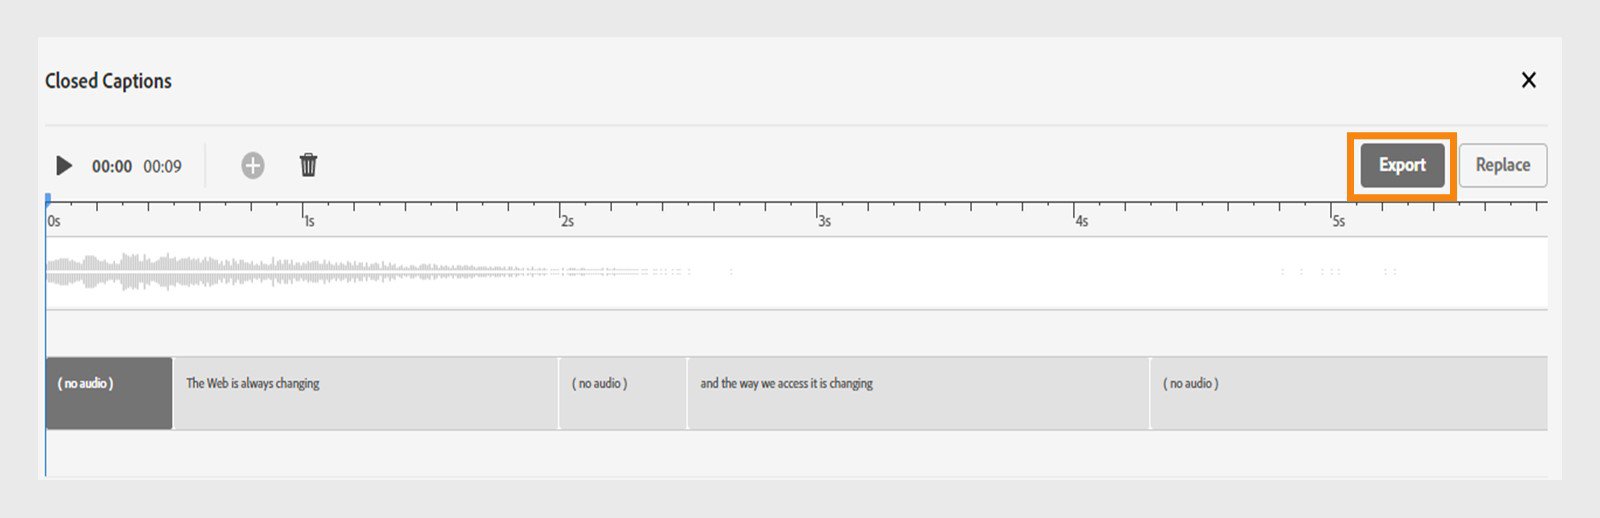
Export closed captions
You can export closed captions from an existing project for reusability. If you have used the same audio in another project, you may export these captions to incorporate them into those projects seamlessly.
-
Select Export from the captions timeline.
Export captions Export captions -
Enter the filename and also the destination, where you want the file to be exported.
-
Select the file format (srt ot vtt).
-
Select Export.
Choose the file name and location for exporting captions Choose the file name and location for exporting captions

Troubleshooting closed captions
|
Error |
Steps to mitigate |
|---|---|
|
Failed to import the captions, The duration of the subtitles must not exceed the duration of the audio. |
Ensure the length of the audio is more than the caption duration. Open the captions file and check the end timing and ensure it is less than or equal to the audio duration. |
|
Import Failed: Subtitles have conflicting time ranges. Adjust the timing to avoid overlapping with other captions. |
Captions have conflicting time ranges. Check and adjust the timing of each caption in the file. Ensure the start and end times of each caption do not overlap. You can fix the timing in the file and re-import. |
|
Import Failed: Subtitle format is incorrect. |
Check the file and ensure the format or syntax is correct and adheres to respective srt or vtt formats. |
|
Import Failed: Subtitle file cannot be empty. |
Srt or vtt file must contain caption texts and their timing information. |
|
Import Failed. The end time of a subtitle cannot be less than or equal to its start time. |
Ensure the end time is greater than the start time and re-try. Any particular caption's end time should not be less than its start time. |
View the closed captions at runtime
Select Project properties in the right panel.
In the Publish Settings section, enable or disable the toggle Show Closed Captions to display or hide the closed captions at runtime.
Export project content and closed captions
If your computer has Microsoft Word installed, you can export project content and closed captions from an existing Adobe Captivate project to a .DOC file.
-
Select File > Export > Project content and closed captions in the main toolbar.
-
Select a location on your computer.
The captions are saved as a Microsoft Word document. Navigate to the location where the file is saved and open the file.
Import project content and closed captions
You can import text captions from a DOC file. First, you export the text captions from your Adobe Captivate project. Adobe Captivate creates a DOC file that preserves all the formatting from the text captions.
Update the column Updated Text caption Data with localized content. Then import the file into the Adobe Captivate project.
-
Select File > Import > Project content and closed captions.
-
Select the DOC file that contains captions that you want to import.
-
Click Open.
After successful import, the project will be updated with localized content from the doc file.